






Table of Contents
◉ Introduction ◉ What Is Generative Fill in Photoshop? ◉ How to Turn On Generative Fill in Photoshop ◉ Benefits, Risks & Limitations ◉ Practical Examples: A Mini Case Study ◉ Common Mistakes and Expert Tips ◉ FAQs ◉ Conclusion
Generative AI has quickly become one of the most talked-about features in creative software, and Adobe Photoshop is leading the way. If you’ve been hearing about Generative Fill but haven’t tried it yet, you’re missing out on one of the most powerful productivity tools in digital design. This feature lets you add, remove, or expand content in your images with simple text prompts, eliminating hours of manual editing.
But here’s the catch: many new users don’t know how to activate it properly, or they assume it’s a complicated setup reserved for advanced professionals. In reality, enabling Generative Fill in Photoshop is straightforward, and once it’s on, it can completely transform how you approach creative projects.
In this guide, you’ll learn exactly how to turn on Generative Fill in Photoshop, step by step. We’ll also cover what it does, the benefits and risks of using it, practical examples, and common mistakes to avoid. By the end, you’ll be ready to confidently integrate this AI-powered tool into your daily workflow—and unlock new creative possibilities with Photoshop.
What Is Generative Fill in Photoshop?
Generative Fill is Adobe Photoshop’s AI-driven editing feature that uses Adobe Firefly, Adobe’s proprietary generative AI model, to intelligently create or replace image content. Instead of manually cloning or masking, you simply type a prompt—like “add a mountain range in the background” or “remove the lamp”—and Photoshop instantly generates realistic results.
Adobe officially rolled out Generative Fill in 2023, but in 2024 and 2025, it has become more powerful and widely adopted. According to Adobe’s 2025 Creative Trends Report, over 73 % of Photoshop users now rely on Generative Fill for at least one stage of their design process, showing how fast the feature has become mainstream (Adobe, 2025).
The tool is context-aware, meaning it analyzes your selection and seamlessly blends new content with lighting, texture, and perspective. This makes it ideal for tasks such as:
• Removing unwanted objects
• Expanding an image beyond its original crop
• Adding new elements to a scene
• Enhancing product shots or marketing visuals
How to Turn On Generative Fill in Photoshop
Before using Generative Fill, you must ensure your Photoshop version supports it and that the feature is properly enabled. Here’s the step-by-step process:
Step 1: Update Photoshop
Generative Fill is only available in Photoshop 2024 and later. Make sure your Creative Cloud desktop app is updated.
• Open Adobe Creative Cloud.
• Check for updates to Photoshop.
• Install the latest version.
Step 2: Enable Generative Fill Access
Adobe requires an active Creative Cloud subscription since Generative Fill relies on Firefly cloud processing.
• Log in with your Adobe ID.
• Confirm that your plan includes Photoshop.
• Ensure internet connectivity—offline mode disables Firefly tools.
Step 3: Select the Generative Fill Tool
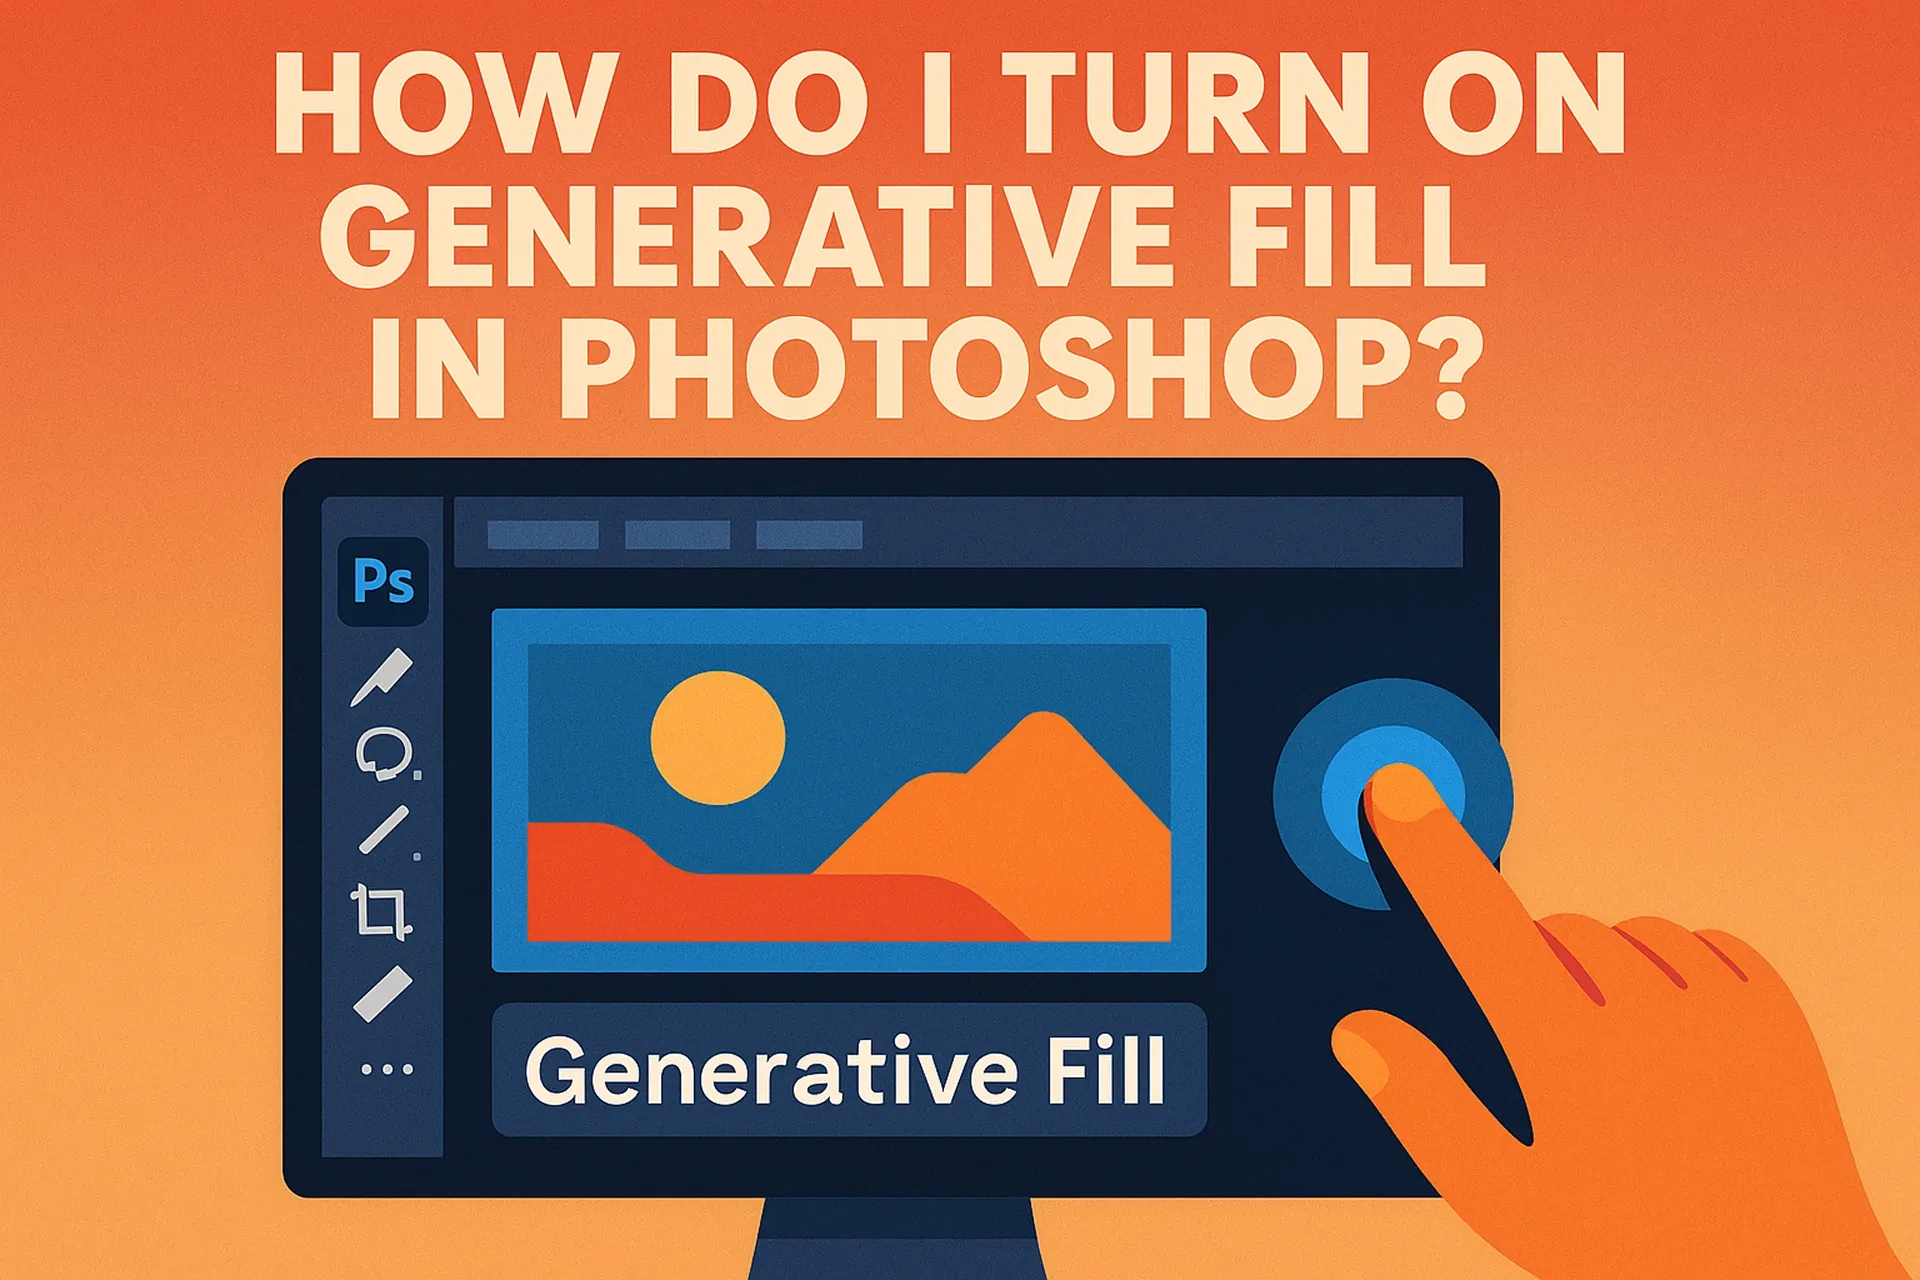
Once updated, you’ll find the Generative Fill option integrated into the Contextual Task Bar (a floating toolbar that appears when you make a selection).
• Open your image in Photoshop.
• Use any selection tool (Lasso, Marquee, Object Selection).
• The Contextual Task Bar will display options, including Generative Fill.
Step 4: Input Your Prompt
When you click “Generative Fill”:
• A prompt box appears.
• Type your request (e.g., “replace sky with sunset clouds”).
• Click Generate.
Photoshop will produce three variations by default, allowing you to choose the best one or regenerate until satisfied.
Why Use Generative Fill? Benefits and Risks
Like any AI tool, Generative Fill comes with advantages and caveats.
Benefits
• Time efficiency: Tasks that took hours can now take seconds.
• Creative exploration: You can experiment with multiple variations instantly.
• Accessibility: Even beginners can produce professional-quality edits.
• Consistency: Firefly’s AI understands perspective and textures, reducing mismatched edits.
Risks and Limitations
• Dependency: Overusing AI may reduce manual editing skills.
• Inaccuracy: Complex prompts can yield unrealistic or unusable results.
• Ethical concerns: Adobe restricts Generative Fill to safe, legal, and non-harmful outputs.
• Cloud reliance: You need internet access, as Firefly runs on Adobe’s servers.
(Gartner, 2025) reports that 42 % of design teams worry about ethical implications of AI use, highlighting the need for thoughtful integration.
Practical Examples: A Mini Case Study
Imagine you’re creating a marketing banner for an e-commerce store. The original photo has a product on a white table, but you need a vibrant lifestyle background. Instead of reshooting:
1. Select the background area with the Object Selection Tool.
2. Open Generative Fill from the Contextual Task Bar.
3. Type “modern kitchen background with natural light.”
4. Generate three AI variations.
5. Pick the most realistic option, adjust brightness, and finalize.
The entire transformation takes under five minutes, compared to several hours of stock searching or manual compositing.
Another example: Expanding a travel photo for a social media banner. With Generative Fill, you can extend the sky, ocean, or cityscape seamlessly, providing the exact dimensions you need without cropping the subject.
Common Mistakes and Expert Tips
Even though Generative Fill is intuitive, beginners often fall into these pitfalls:
Mistakes to Avoid
• Using overly vague prompts like “make it nice.”
• Forgetting to refine selections, leading to distorted edges.
• Expecting perfection on the first try—AI works best with iteration.
• Applying it at low resolution, which limits detail.
Expert Tips
• Be specific with prompts: “add a golden retriever sitting on grass” is clearer than “add a dog.”
• Use short, descriptive words—Adobe Firefly performs best with concise instructions.
• Combine manual adjustments (Curves, Color Balance) after generation for professional polish.
• Save versions as you go—sometimes an earlier AI variation works better than later edits.
FAQ: Related Questions About Generative Fill
Conclusion: Start Creating Smarter with Photoshop
Turning on Generative Fill in Photoshop is as easy as updating your software and selecting it from the Contextual Task Bar. Once enabled, it opens doors to faster workflows, more creative exploration, and professional-grade results—even if you’re just starting out.
By learning how to use it effectively, you can elevate your projects, save valuable time, and stay competitive in an industry where AI-powered creativity is rapidly becoming the standard.
So, the next time you open Photoshop, don’t just edit—generate.